Home        T-Shirt DIY's     Re-Styles      WobiSobi DIY's        Videos 

Thursday, October 18, 2012

"If everything seems under control, you're just not going fast enough." Mario Andretti

That sentence  pretty much sums up what has been going on lately.
But I would never, ever Complain.


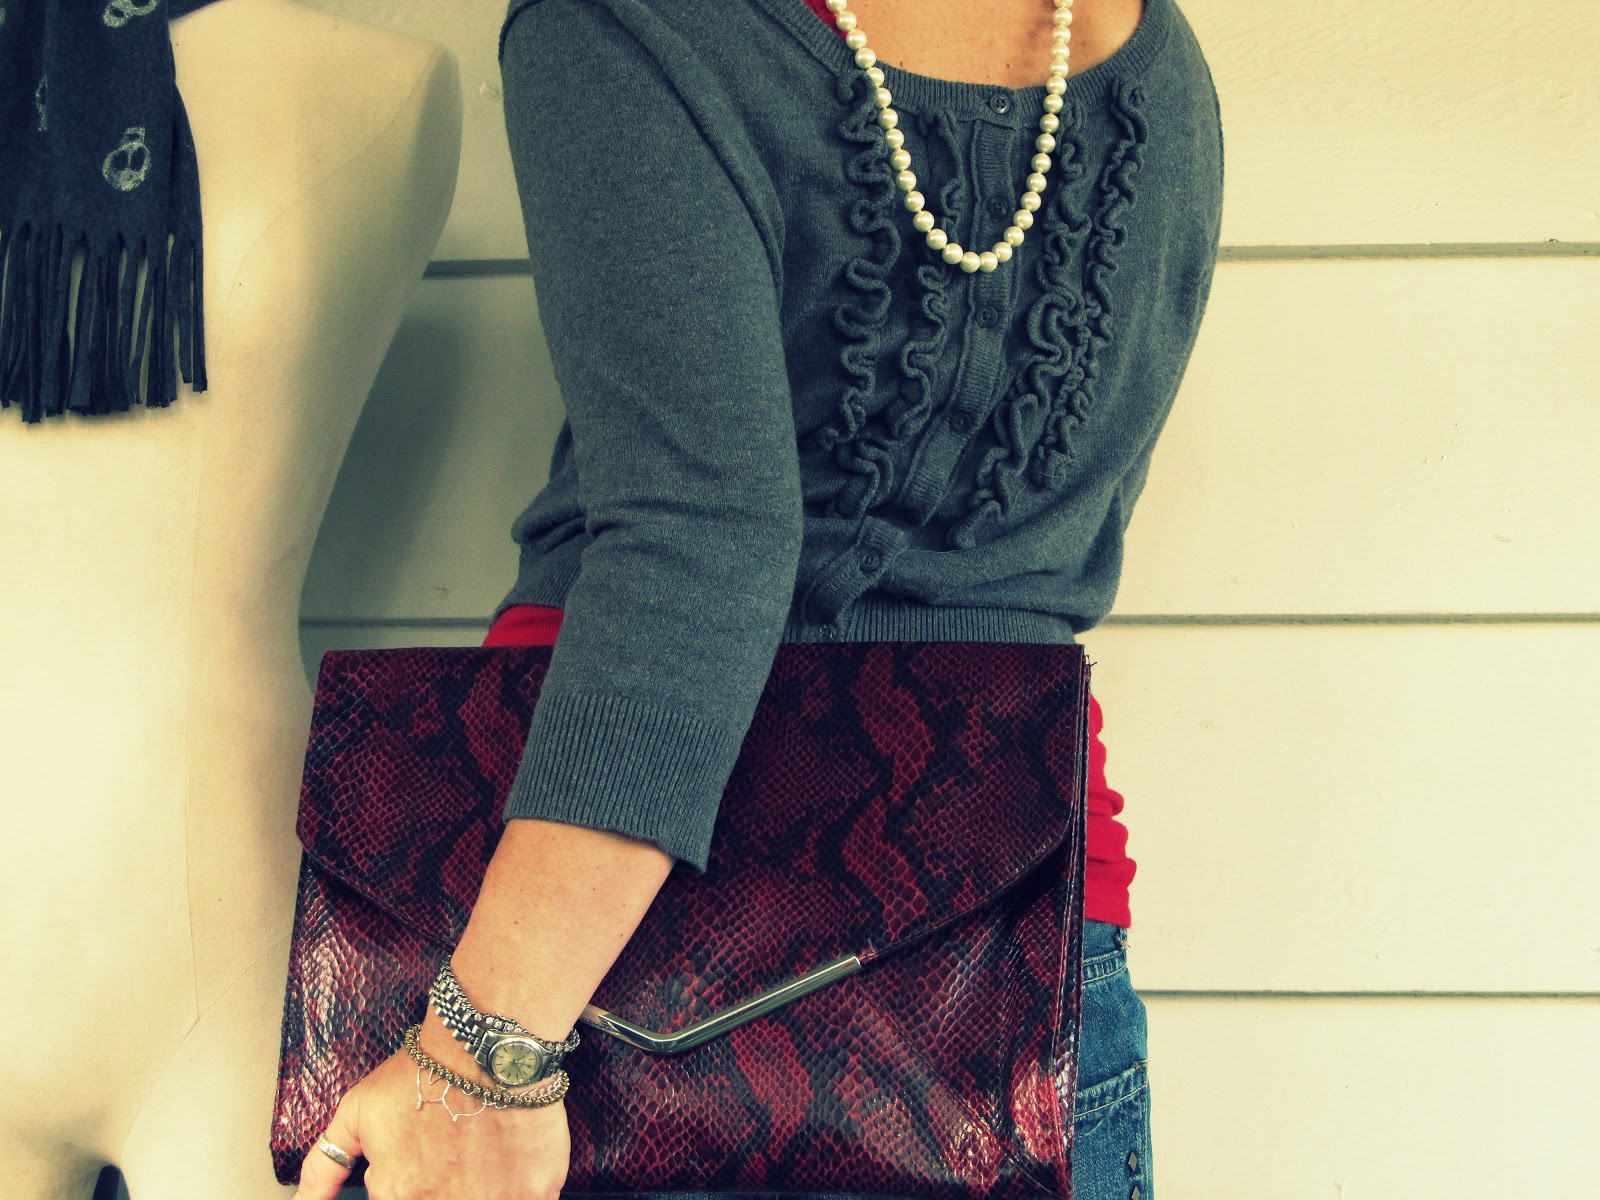
 Ring and some bracelets ~ Charlotte Russe.
 Charm bracelet~ I  made


Shirt and tank~ Charlotte Russe, 
Dark Coral cords, hat, purse and pearls~ Target,  
Shoes~ Tahari

Have a wonderful Thursday,
and remember you never have total control.
Lots of <3,
Anne

Wednesday, October 17, 2012

Tee-Shirt Shrug, DIY

Need a little something for your shoulders when the nights get a little cooler?
 Make a shrug from the bottom half of a tee shirt.

 Tutorial 
Things you need.
  1. Extra Large Hanes Tee- shirt
  2. Scissors
  3. Pins
  4. Studs
  5. Pliers * not shown
  6. Sketch
  7. Sewing Machine *not shown
  8. Ruler* not shown
  9. Chalk *not shown
 Fold your shirt in half
Measure 6 inches down from the arm pit.


Draw a straight line with chalk


 Cut on the line, now you have a tube.
Save the top half for another DIY:)

 Turn inside out pin with your straight pins and sew a straight line across the top to close the tube.
Use the  appropriate color thread.
 I used a lighter thread so you could see better.
 ~This is the only sewing you have to do.~


Cut up each side, almost to the top.  
Stop about one inch from the end.

Turn right side out and over lap the corners where you just cut.


 I placed 3 studs there to hold it together.


On the back seam I placed studs all the way across,
 spacing them about 3 inches apart.


 Just for something a little extra


Now you have an easy, inexpensive solution to cold shoulders.

Oh and some Awesome news..
I was nominated in the "Top 25 Creative Blogs"  By The Skinny Scoop.
The Link is HERE
I feel so HONORED to have been nominated
with so many other Talented and amazing Bloggers
Head on over and pick your Favorite to Win
The voting ends October 31, 2012.
 Halloween.

Have a wonderful Wednesday.
Lots of <3,
Anne

Monday, October 15, 2012

My Top 5 Tee-Shirt. DIYS

I thought I would share with you 5 of my Favorite  No Sew, Tee shirt DIY's.
 I am trying to juggle life right now, and that is why my Blog has been so quiet.
Hoping for things to slow down so I can do what I love,
which is DIY's.


Work is keeping away from doing my most favorite thing in the world, which is this blog.
 I promise I will be back soon..
Have a wonderful Night.
Lots of <3,
Anne

Thursday, October 11, 2012

Backwards


 Everything I have on is from Target,
Except my DIY skull scarf  HERE and my DIY cross shoes HERE.


I always use to wear my button up sweaters backwards in High school.
 I guess in my mind I was just tying to be rebellious.
It always seemed that I was searching for small ways to be different than everyone else. 
Didn't everyone do that?
Have a fantastic Thursday.
Lots of <3,
Anne

Wednesday, October 10, 2012

"Put a Stud On It!" Cross Stud Your Shoes, DIY

I am studding everything ATM. (at the moment)
Why should shoes escape my wrath.

 Tutorial
 Things you need.
  1. Shoes
  2. Studs
  3. Ruler
  4. X-acto knife
  5. Pencil
  6. Pliers

 Think of a design . 
 I wanted a cross

 Find the middle of the shoe and mark about one inch down from the top.
Then use your ruler and draw a straight line with a pencil.
*You are going to stud across this line.
 I made an indent with the stud which left a small mark .


 Then with my x-acto knife I pushed it through  just enough to break through,
 then I put my stud through and bent the ends with my pliers.


Continue down with  4 studs.

Then add two studs to make your cross.


I am also working on a cross sweatshirt.
 I can't wait for you all to see it.


Afraid of the knife?
 These are the faux studded shoes I did using sliver puff paint.
No knife required.
You can check them out HERE

Happy Wednesday.
Lots of <3,
Anne

Monday, October 8, 2012

Skull, Tee-Shirt Scarf, DIY

I had a 10 inch wide  by 48 inch long strip of knit material left over from the bottom the polka dot shirt I did HERE a couple of weeks ago and I have been waiting for just the right project to use  it. Well with Fall nipping at my heels a skull scarf seemed like the perfect remedy for my quandary. 
 All of this was possible thanks to Ilovetocreate.com,
a fantastic site for fun projects and to get your creative juices  flowing.
You can find their awesome web site HERE.

 Tutorial 
Things you need.


  1.  Knit material *the bottom of a large shirt works great.  Dimensions:10 inches wide by 48 inches long.
  2. Small paint brush
  3. Scissors
  4. Fabric Tulip Paint HERE
  5. Skull Inspiration
  6. Tulip sponge HERE

 If your piece is a tube, cut one side open to make one long piece.


 Cut the hem off
I am saving the hem  piece to make something else with it.


 Now on each end cut small slits about 4 inches.

 then stretch them out,

 I used the tulip sponge to make dots all over the scarf.

Then I painted a rectangle on the bottom of each circle, to make the skull shape.


I then used a small brush and with the black tulip paint  I painted two eyes and a mouth.
Let all of that dry about 4 hours.


 Hello new skull scarf.

 I think this would look great on a shirt as well.


I hope you had a fab Monday,
mine was wonderful.
Lots of <3,
Anne